Escape Prison with a Toothpick Pre-Escape Checklist
Confirm sack, toilet, tunnel, inspections, sewer, and car before you commit to a breakout.
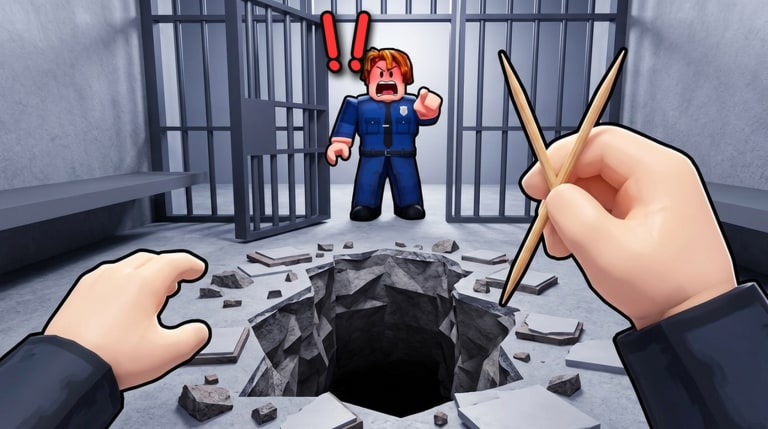
Most failed escapes in Escape Prison with a Toothpick are not mysteries. The tunnel was shallow, the Mail Sack was still full, the toilet was busy, an inspection landed on visible dirt, or the sewer route was improvisation. This checklist is the practical tool you run through before a serious attempt—Iron Jail clears, Alcatraz pushes, Spotless Record, Speedrunner, Toothpick Purist, Royal Flush, Clean Getaway, or Squad Goals finishes. Pair it with the escape loop and Hide Evidence guides.
Print the categories in your head: sack empty, toilet ready, tunnel depth, inspection timing, sewer path, car. If any line fails, dig or wait; do not sprint into a reset.
1. Mail Sack empty (or intentionally managed)
Before you leave the cell for a long underground push or a final sewer run, know your sack state.
- Standard escape push: Flush until the sack is empty and the cell floor is clean. You want zero visible dirt when the next guard checks.
- Royal Flush grind: Bags should be at least half full when you flush; empty is wrong for that badge. Track count toward 250.
- Loot pocket digs: Do not start a deep side tunnel with a nearly full sack unless you can return and flush before the inspection timer.
Bag upgrades and permanent bag-space badges (Stuffed Sack, Messy Cellmate, Royal Flush rewards) make this line easier. See the badges tier list and Tools and Upgrades if sack capacity is your bottleneck.
2. Toilet ready
Confirm you can flush without standing in a contested queue while the inspection clock dies.
- Check that the toilet is reachable and not blocked by lobby traffic on 50-player servers.
- If you own the Golden Toilet, remember flushes are instant—still walk the path early so you are not caught mid-cell with dirt out.
- On normal toilets, budget wait time into your dig cycle. Start flushing with margin, not at the last second.
- For Window Shopper or Purist runs, the toilet is still mandatory; “no spend” and “toothpick only” do not mean “skip flushing.”
If the toilet area is chaos, wait one inspection cycle, clear your cell, and try again. A patient delay beats a strike.
3. Tunnel depth and structure
Your tunnel must actually reach the sewer connection for the chapter you are on.
- Verify depth and continuity: no accidental softlocks, no missing segments you forgot while chasing gem blocks.
- Keep a clear return path to the cell for emergency flushes.
- On Toothpick Purist runs, accept slower depth; do not pick up shop dig tools to “just finish.” The Golden Toothpick only drops if you stay toothpick-only for the whole escape.
- On normal runs, mid dig tools and Hold To Dig from the tools tier list are fair game and should already be equipped before the final push.
Shallow tunnels cause last-minute panic digs with dirt everywhere—the main reason checklist item 1 fails under pressure.
4. Inspection timing
Know where you are in the inspection cycle before you open a loud dig streak.
- If a check is soon, flush and hide first; dig after the guard passes.
- Spotless Record needs under 20 minutes and zero strikes—treat every inspection as a hard gate.
- Clean Getaway also needs zero strikes plus no catches in the sewer or at the car.
- By a Thread is the rare case where you already have two strikes; only then do you intentionally play the five-inspection survival line. Everyone else should avoid farming strikes.
- Close Call! is a specialty hide timing badge; do not risk it during a primary escape unless that is the run goal.
Untouchable (12 clean inspections in a row) is a long discipline badge—use this checklist every cycle, not only at the end.
5. Sewer path memorized
Do not enter the sewer without a route.
- Review the chapter path (Iron Jail versus Alcatraz). Alcatraz can include extra objectives such as Live Wire on the security room door if that badge is part of your plan.
- Watch for other players; call out if you are stacking for Squad Goals so six escapes can land in one session without blocking each other.
- Move with climb and speed upgrades if you own them; Clean Getaway and Close Call! climb bonuses help vertical segments.
- Getting caught in the sewer voids Clean Getaway and can ruin timed runs even if your cell was spotless.
If you are unsure of the route, do a scout dig session first, then reset the checklist for a fresh badge attempt.
6. Getaway car approach
The car is the finish line, not a safe lounge.
- Approach only when the sewer segment is clear enough to commit.
- Avoid getting busted at the car—Clean Getaway cares about this explicitly.
- In busy lobbies, stagger arrivals so the exit does not turn into a pile-up that draws attention.
- After you escape, note which permanent badges progressed (Iron Jail +$25, Alcatraz +$50, Repeat Offender, Squad Goals, and so on) before spending loot cash.
Full pre-flight list (skim version)
- Run goal chosen (cash, badge, loot, Purist, timed).
- Mail Sack state matches the goal (empty/clean vs half-full Royal Flush).
- Cell floor clear of evidence.
- Toilet reachable; flush time budgeted.
- Dig tool correct for the goal (toothpick only for Purist).
- Tunnel deep enough with a return path.
- Next inspection window understood.
- Sewer route recalled for this chapter.
- Climb/speed comfortable for the exit.
- Car approach plan ready; co-op call outs if chasing Squad Goals.
After you escape
Sell loot thoughtfully. Bank toward Fat Stacks if you are near $25,000 held cash. Prefer Window Shopper before heavy spending on a fresh account. Reopen Classes and Loot if the run was a Legendary or gem farm. Check Updates and codes when the meta shifts. Browse Scripts only after you can pass this checklist clean on fair play.
New players should still complete Getting Started once, then live on this checklist. Returning players should run it before every expensive badge attempt. The list is short on purpose—miss one line and the whole dig can waste itself on a single strike.
Frequently Asked Questions
Quick answers for diggers and escape artists.
What are the six must-check items before escaping?
Mail Sack state, toilet readiness, tunnel depth, inspection timing, sewer path, and getaway car approach.
Should the Mail Sack always be empty?
For normal escapes and zero-strike badges, yes—flush until the cell is clean. For Royal Flush, flush bags that are at least half full instead.
Can I use shop dig tools on every checklist run?
Yes, except Toothpick Purist attempts. That badge fails if you pick up any tool other than the toothpick.
Does this checklist work for Alcatraz?
Yes. Use the same six categories and add chapter-specific route notes such as Live Wire if that badge is part of your plan.
How does Squad Goals fit the checklist?
Keep your own six lines clean, then coordinate sewer and car timing so six players can finish in the same 50-player session.